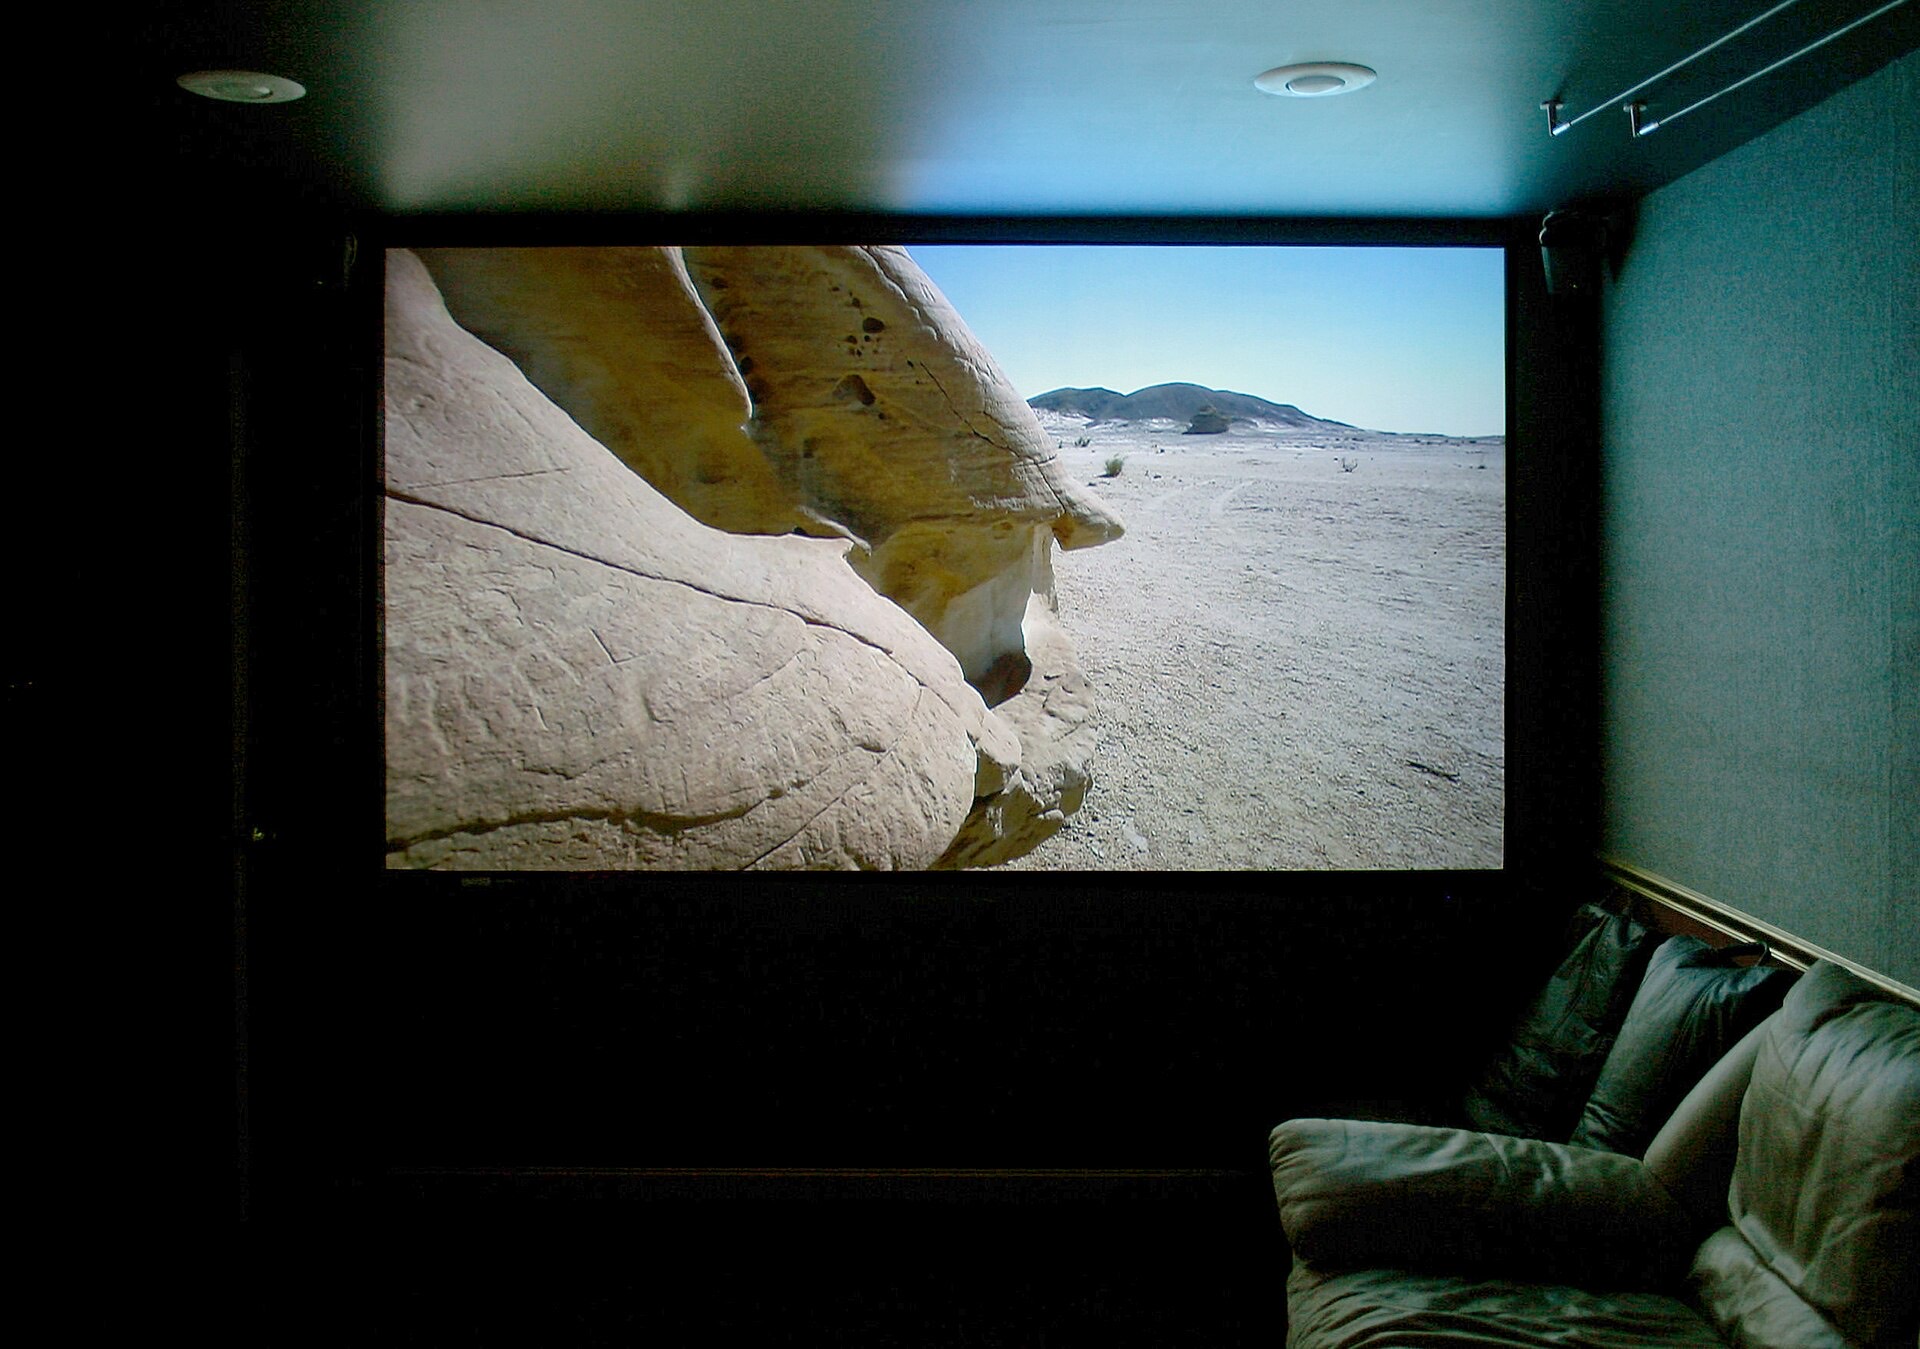
You put on a film that looked fine in the cinema, and at home half of it happens in a black rectangle. You turn up the setting marked Brightness. It gets worse: the picture goes milky, the blacks turn grey, and the shadows are still unreadable.
That is not your imagination and it is not a broken television. It is a naming problem that has survived about forty years of consumer video.
Brightness does not mean brightness
On almost every television sold, the control labelled Brightness adjusts the black level, which is the floor of the picture. Raising it does not add light to the image. It lifts the darkest part of the signal off the bottom, which makes black look grey and flattens the whole picture.
The control that actually changes how much light the panel puts out is called something else depending on who made the set:
- Backlight on most LED and QLED sets, including Samsung, Sony, TCL and Hisense
- OLED Pixel Brightness or OLED Light on LG OLED panels
- Brightness genuinely does mean light output on some recent models, which is why checking your own menu beats trusting any general instruction
What to do
- Start something that looks too dark, and leave it playing while you change settings.
- Open the picture menu and set Brightness back to its default value.
- Find Backlight, or OLED Pixel Brightness on an LG OLED.
- Raise it until the picture is comfortable in your room.
That is the control that raises light output. Brightness never did.
Your picture mode is fighting the film
Televisions ship in a mode built to survive a shop floor lit like a surgery. Vivid, Dynamic and Standard all push contrast and colour hard, and several apply dynamic contrast, which decides on your behalf that a dim scene should be dimmed further.
On a Samsung set:
- Open Settings.
- Select Picture.
- Select Picture Mode.
- Choose Filmmaker Mode, or Movie if the set does not offer it.
On an LG set:
- Open All Settings.
- Select Picture.
- Select Select Mode.
- Choose Filmmaker Mode, or Cinema if the set does not offer it.
On other brands, look for Filmmaker Mode first and Cinema, Movie or Calibrated after that. The UHD Alliance publishes what the mode is required to switch off, which is the list to check a mode against on any set. All of them turn off the processing distorting the image, which we cover in what Filmmaker Mode actually changes.
Filmmaker Mode can look dimmer at first. What it removes is mostly processing rather than light, and the eye reads the missing contrast punch as darkness for a day or two before adjusting.
Eco settings are dimming you without asking
Look for Energy Saving, Eco Mode, Ambient Light Detection, Auto Brightness or Light Sensor, and turn all of them off. These read the room and reduce panel output to save power. In a dim room, which is where you watch films, they dim the picture exactly when you least want it.
On many sets this is also the cause of brightness that seems to drift during a film for no reason.
Settings are stored separately for SDR and HDR
This is the step most guides leave out, and it is the reason people fix the problem once and then hit it again a week later.
Most televisions keep a separate set of picture settings for standard dynamic range and for each high dynamic range format, and on a lot of models they are stored per input as well. Fix the picture on a Netflix title in SDR and your carefully adjusted values will not follow you to an HDR film, or to the console on HDMI 2.
So: play something in the format that looks wrong, and change the settings while it is playing. If a film is in Dolby Vision, adjust during Dolby Vision playback. The menu is editing whichever profile is live at that moment.
HDR has a second problem underneath this one. HDR films are graded on reference monitors far brighter than most living room televisions, and a set with modest peak brightness has to compress that range down to what it can physically show. Some do it well and some crush the shadows. If HDR consistently looks worse to you than SDR on the same set, turning HDR off in the app is a legitimate choice rather than an admission of defeat.
When it really is the film
Some films are graded dark on purpose, and some are compressed badly on the way to you. A dim scene with visible blocky patches in the shadows is a bandwidth problem, not a settings problem, and no picture mode fixes it. The same is true of a picture that is the wrong shape rather than the wrong brightness, where the bars are the film and not a fault.
Before assuming that, check the four things above in order, starting with Brightness. It is mislabelled on almost every set sold and it is the first control anyone reaches for, which is why putting it back to default comes before judging anything else. If motion is also bothering you, that is a separate default worth turning off, and it has a different name on every brand.
If the picture is fine and it is the dialogue you are losing, subtitles are set by the device rather than the app, which is why changing them once fixes every service at the same time.